Vegan Chocolate Coconut Bars
on Sep 22, 2019, Updated Jun 11, 2026
This post may contain affiliate links.
You only need 4 ingredients to make these no-bake vegan chocolate coconut bars: dates, coconut, coconut oil and chocolate. After just a few minutes of prep, place them in the freezer to firm and they’ll be ready to eat in 30 minutes.
Why You’ll Love Vegan Chocolate Coconut Bars
- Super easy to make with just 4 simple ingredients.
- Ready to eat in 30 minutes with minimal prep.
- No baking required!
- Vegan, gluten-free and tree nut-free (contains coconut).
- Decadent enough to make for the holidays but easy and wholesome enough for everyday.
If you’re looking for another no-bake chocolate coconut treat, check out my homemade vegan Mounds bars (or Bounty bars depending on where you’re from) or these chocolate coconut cashew balls.
Ingredient Notes
Below is a quick overview of what you’ll need to make the recipe and any substitutions you can make. Use the recipe card with the full list of ingredients and measurements at the bottom of the post when you’re ready to make the recipe.
- Shredded coconut. Unsweetened fine or medium shredded coconut is perfect.
- Dates. Any kind of dates will do but I would recommend soft and fresh medjool, deglect noor, sayer or honey dates. If your dates are very dry, soak them in hot water for 15 minutes then drain before using.
- Coconut oil. Coconut oil can’t be substituted in this recipe as it’s needed to help the bars firm up and solidify. If you’re looking for an oil-free recipe, I’d recommend checking out some of my other bar or energy bite recipes.
- Chocolate. I used dairy-free chocolate chips but you can also use quality dark chocolate.
How to Make Chocolate Coconut Bars
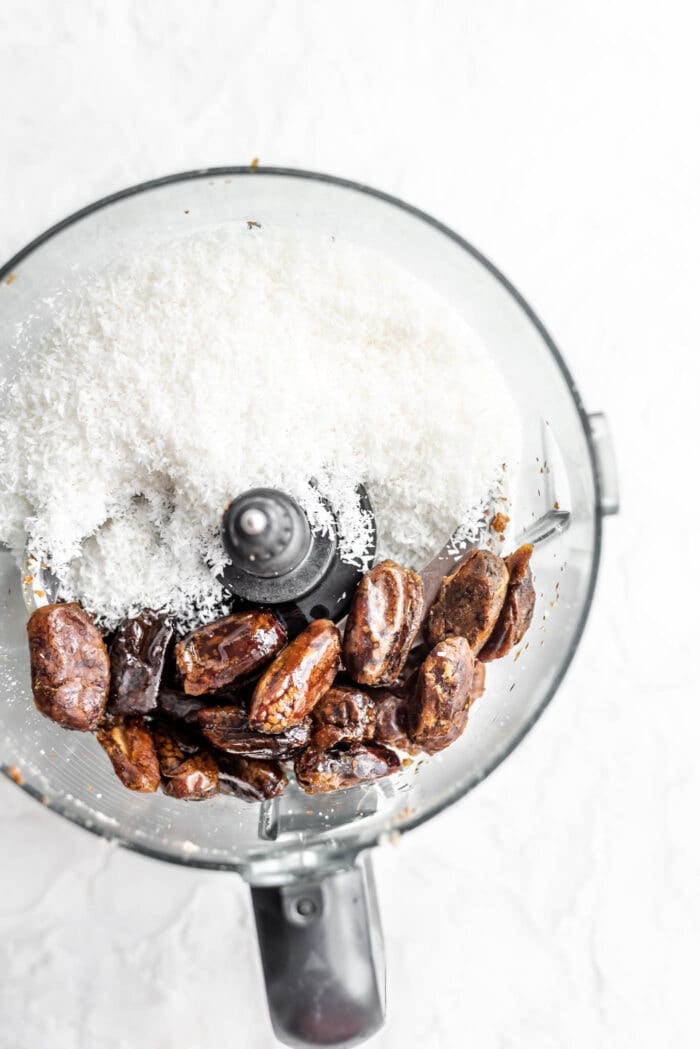
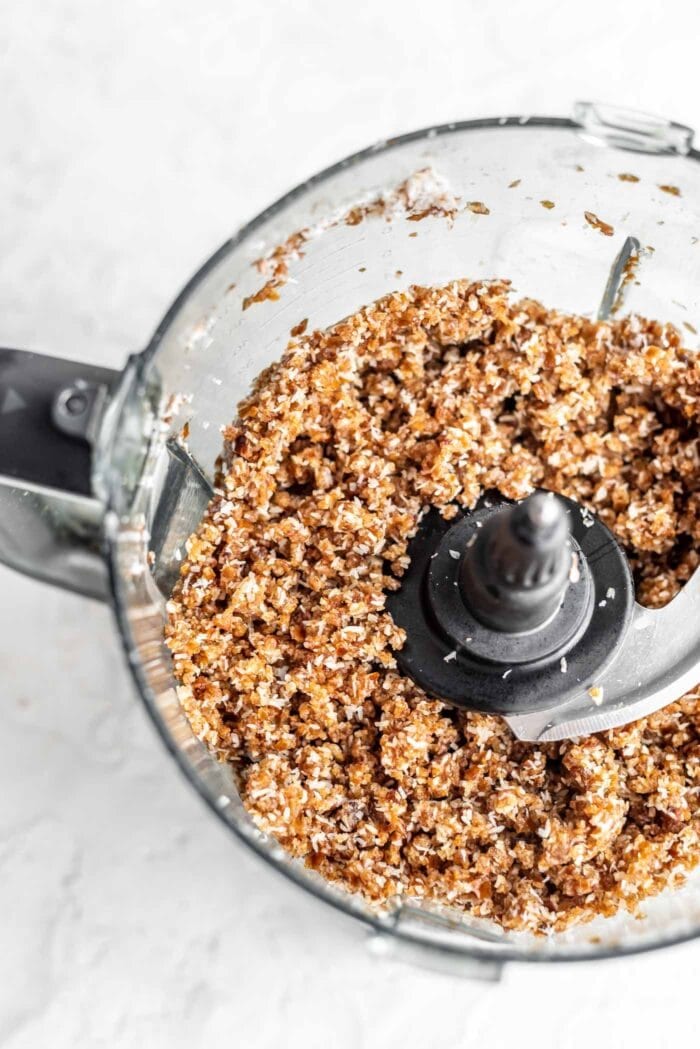
Step 1. Add the unsweetened shredded coconut, dates and coconut oil to a food processor and mix until it forms a crumbly dough.
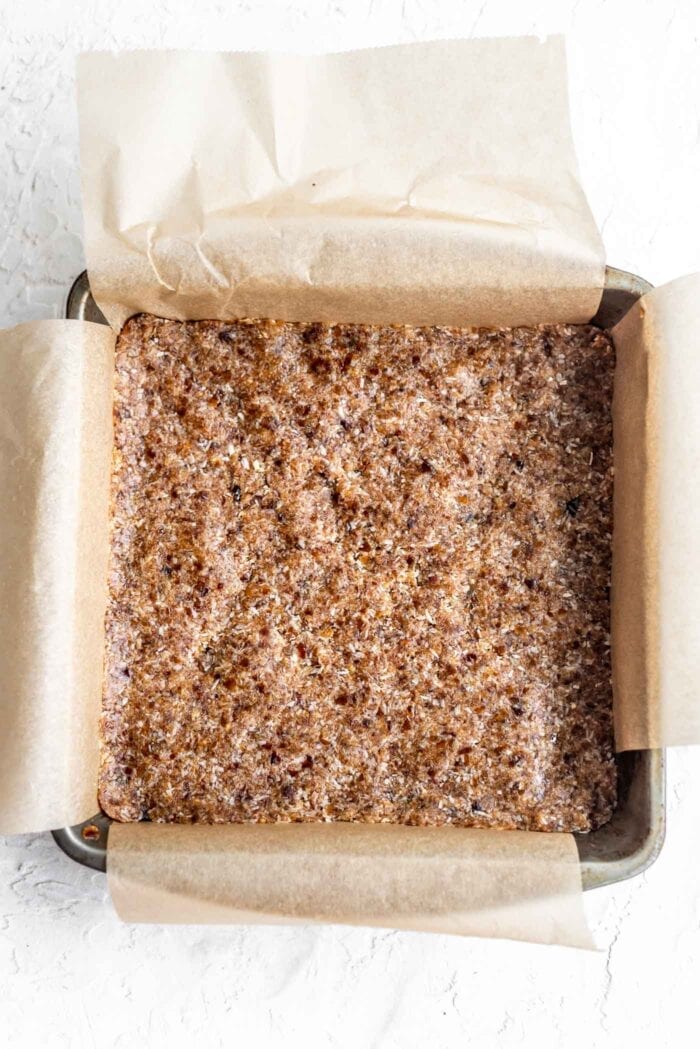
Step 2. Line an approximately 7-inch square baking pan with 2 overlapping strips of parchment paper. This will allow you to easily lift the bars out of the pan once they’re set.
Once you’ve firmly pressed the dough into the pan, set the whole pan in the freezer and move on to the next step.
Note: The dough will be a little bit oily when you press it into the pan. This is normal due to the fats from the coconut and coconut oil. It will firm up in the freezer and create an awesome chewy texture.
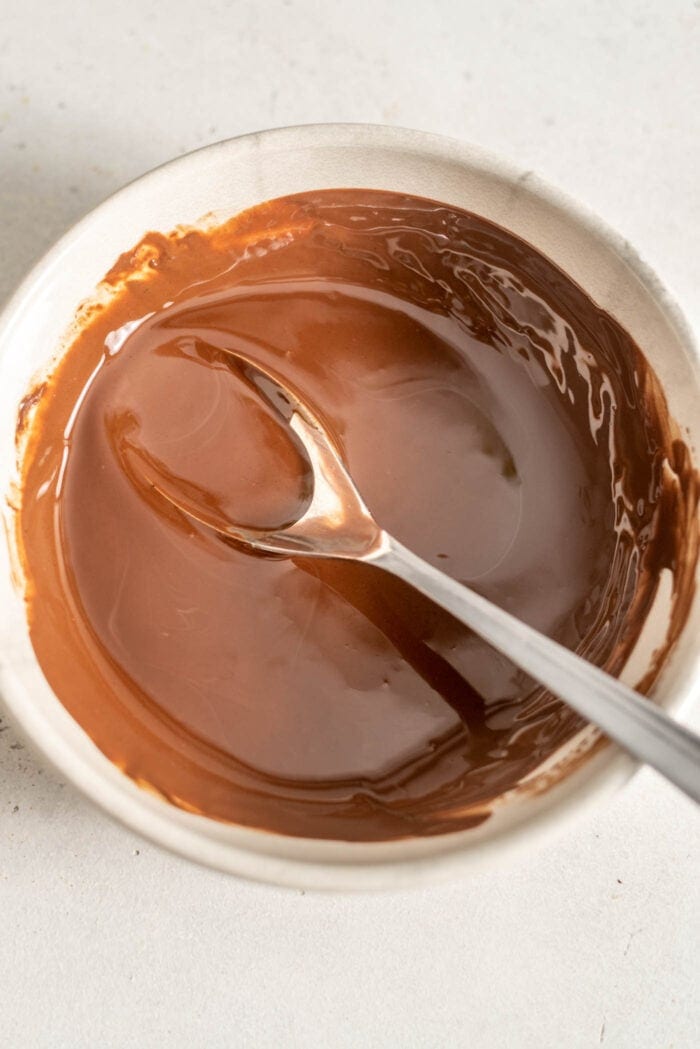
Step 3. Melt the chocolate using one of these methods.
- Use a double boiler or make a double boiler using a glass bowl big enough to sit on top of a small pot. This is the method I use. You can see it set up below.
- Use the microwave. Place the chocolate in a glass bowl, start with 15 seconds then check and stir every 15 seconds until melted. Be careful because it will be ruined if it burns. This is why I like the makeshift double boiler method.
Stir the chocolate until it’s completely melted. This should only take a few minutes.
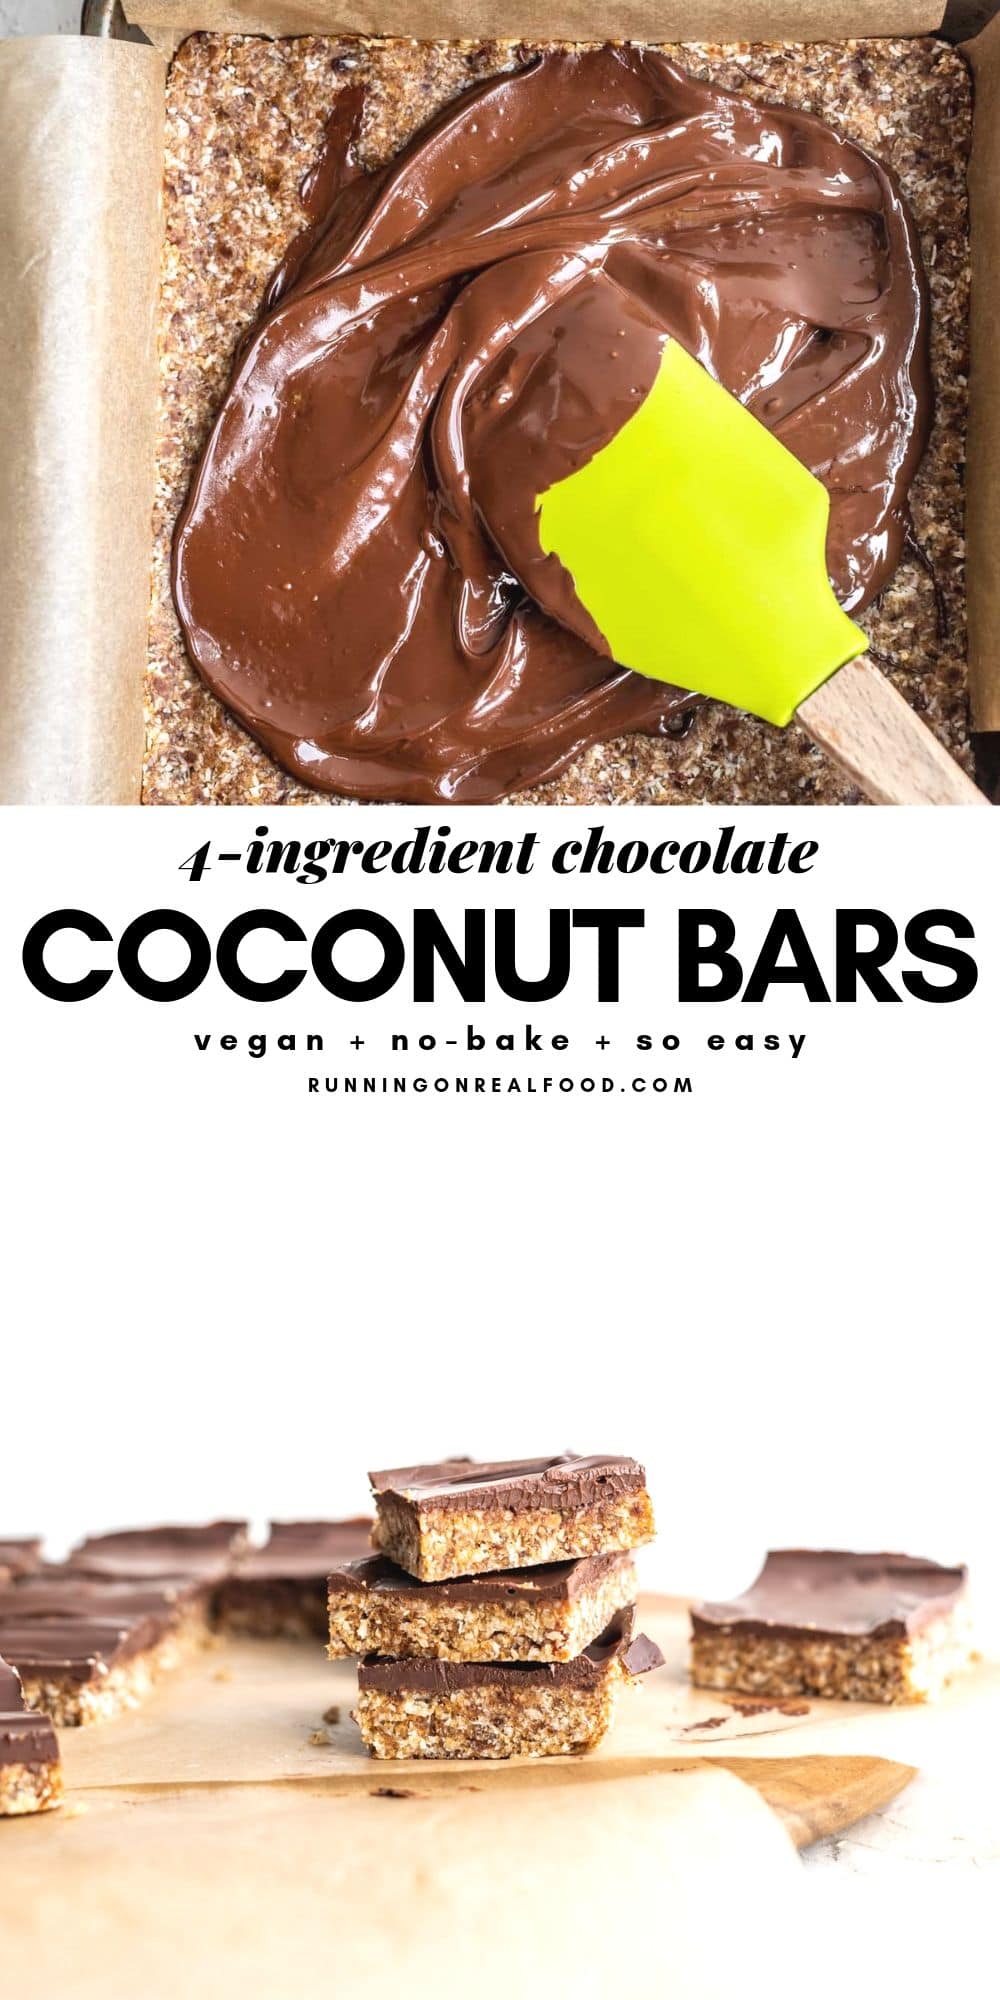
Step 4. Once the chocolate is completely melted, remove the coconut bars from the freezer and use a spatula or spoon to evenly spread the chocolate over the bars.
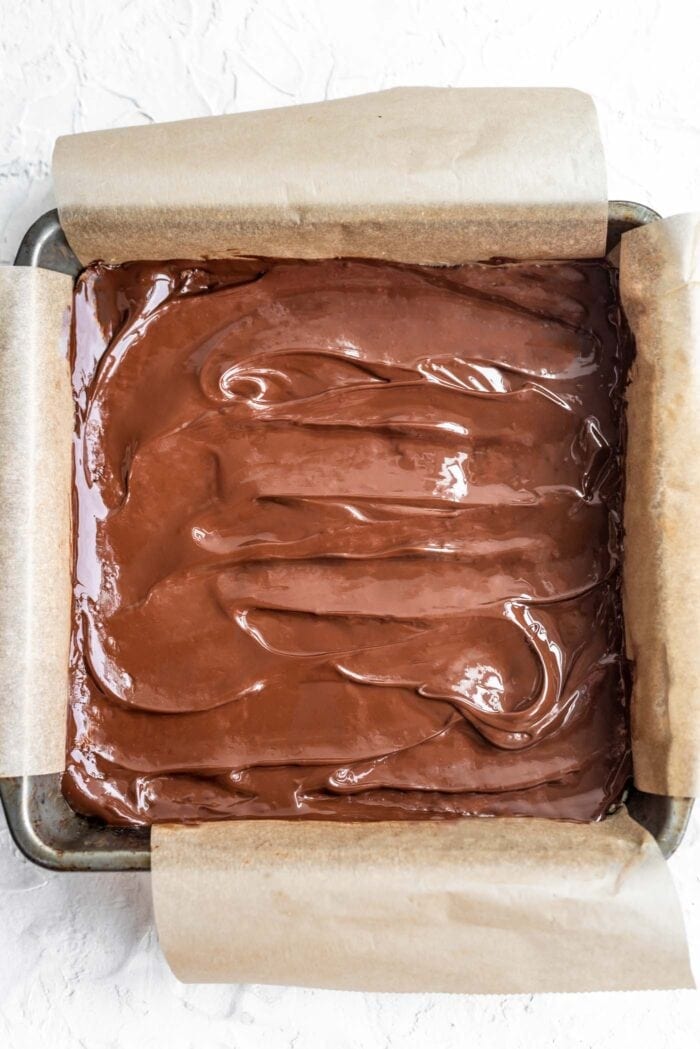
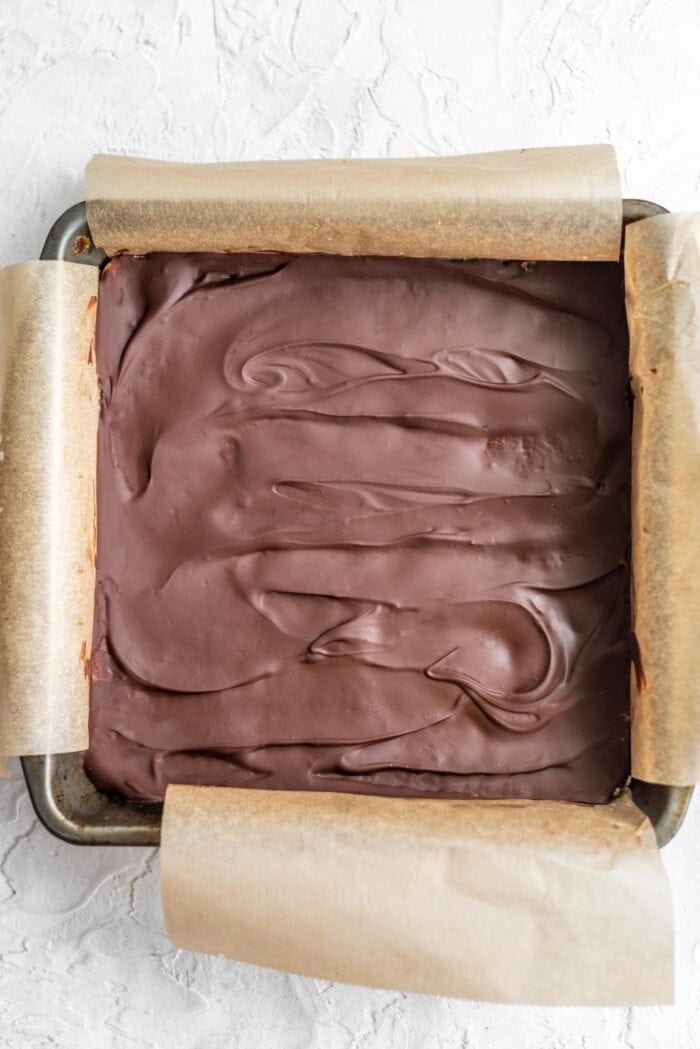
Step 5. Once you’ve spread the chocolate over the bars, place the pan back in the freezer to set. Once the chocolate is completely firmed, pull the bars from the freezer.
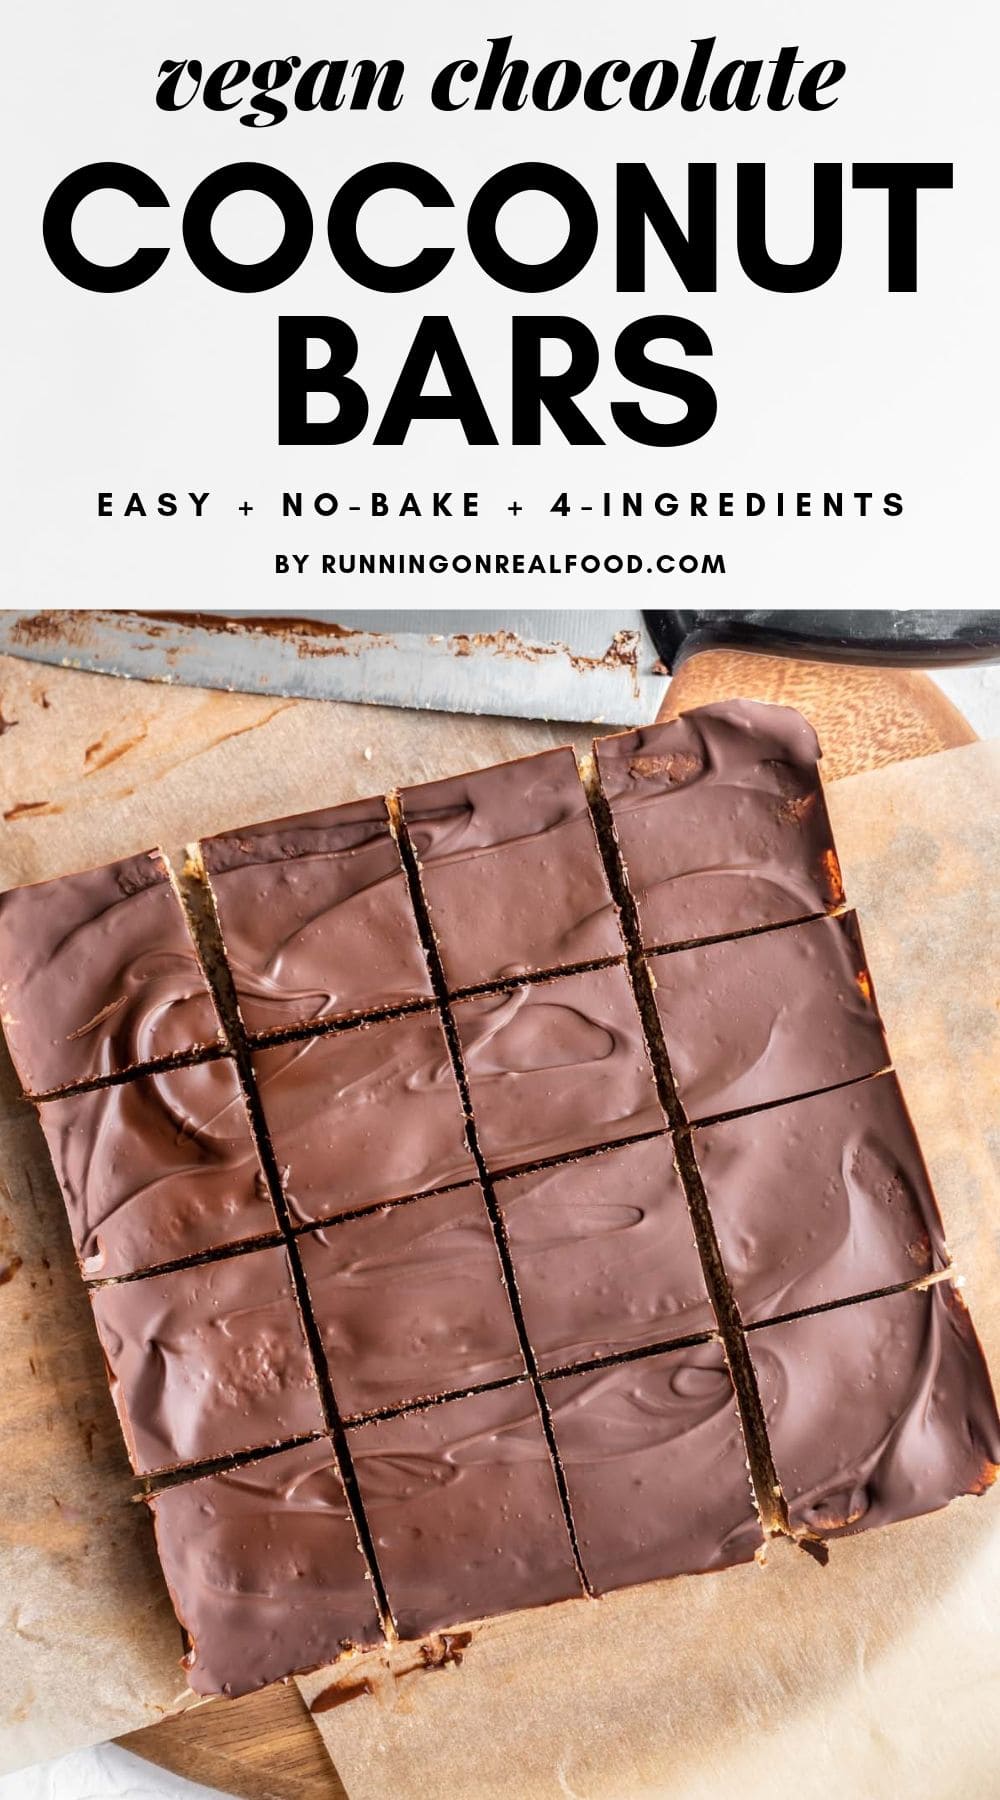
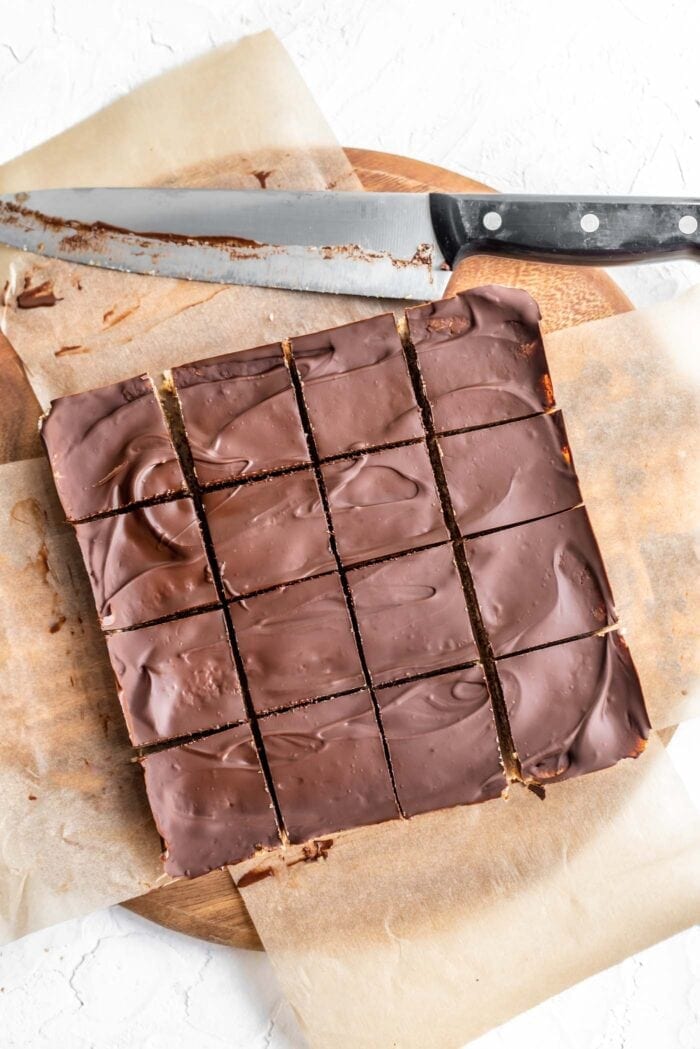
Step 6. Lift the bars out of the pan using the edges of the parchment paper. Heat a knife under hot water and then score the bars (gently press lines where you plan to cut). This will prevent the chocolate from cracking.
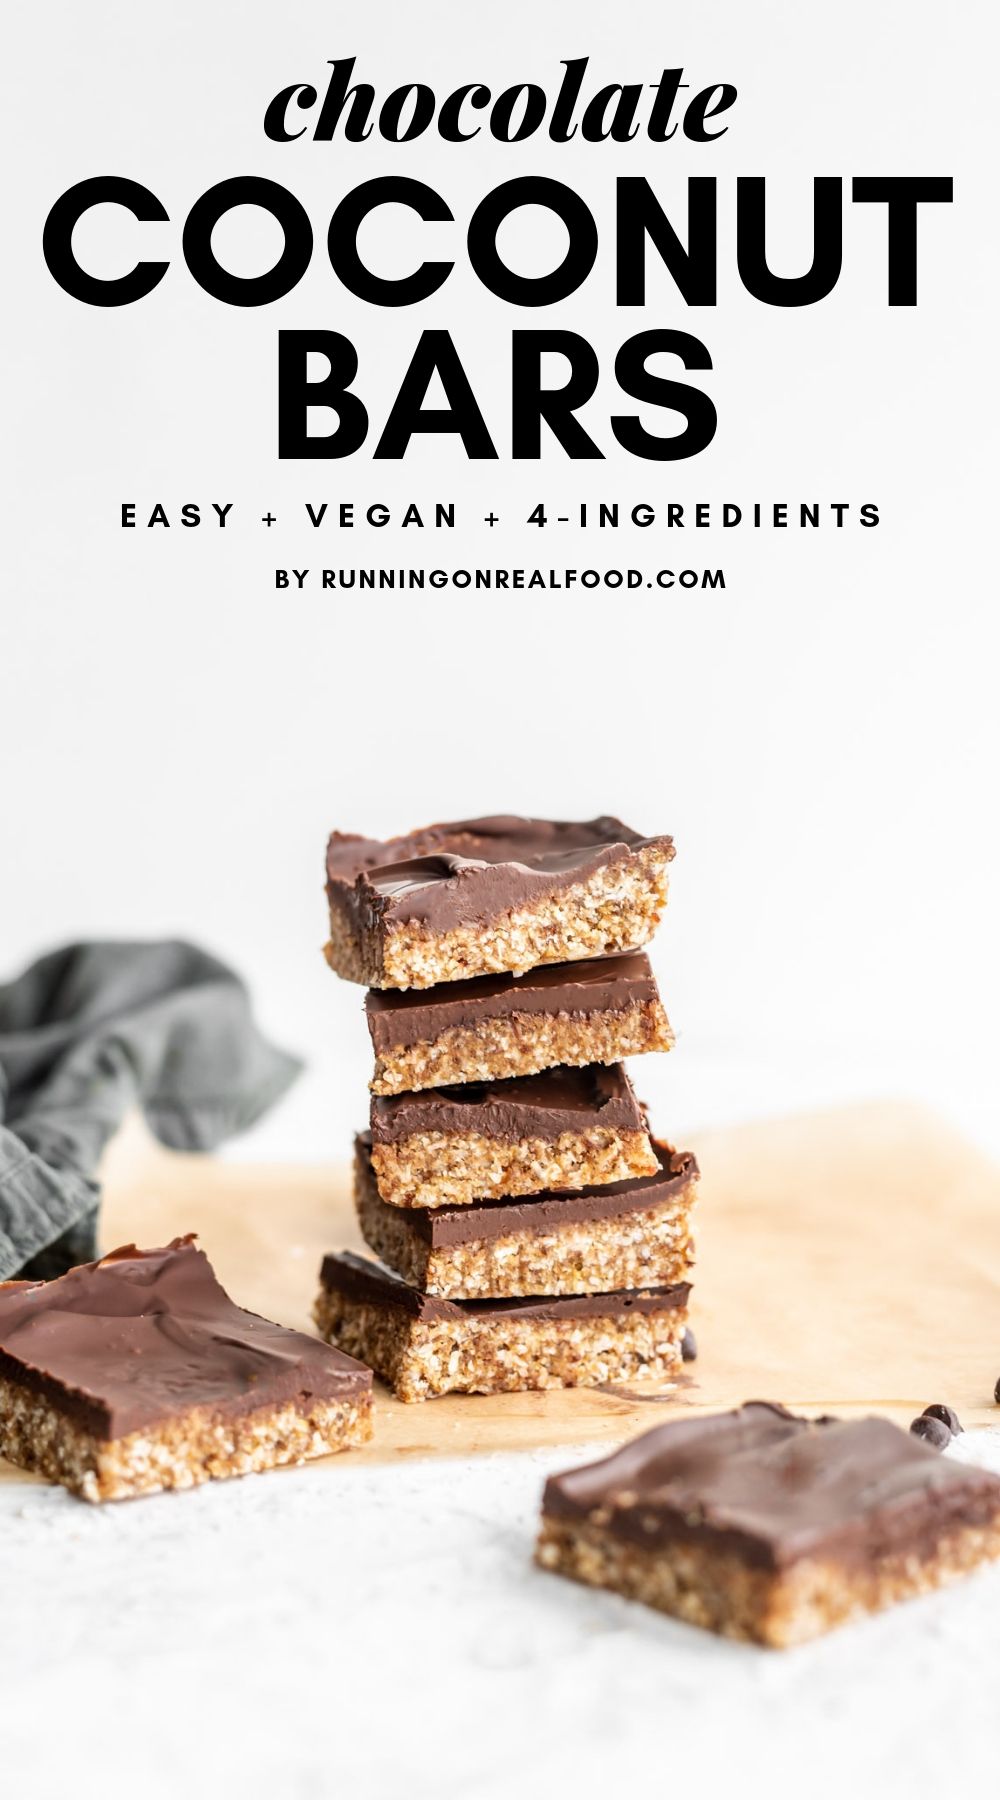
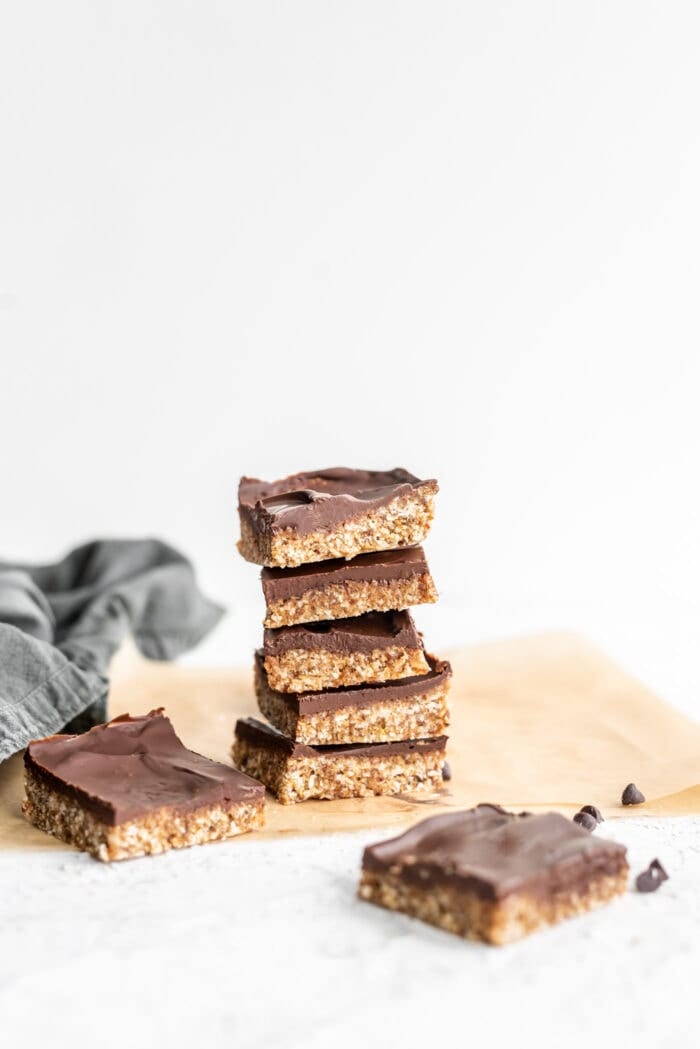
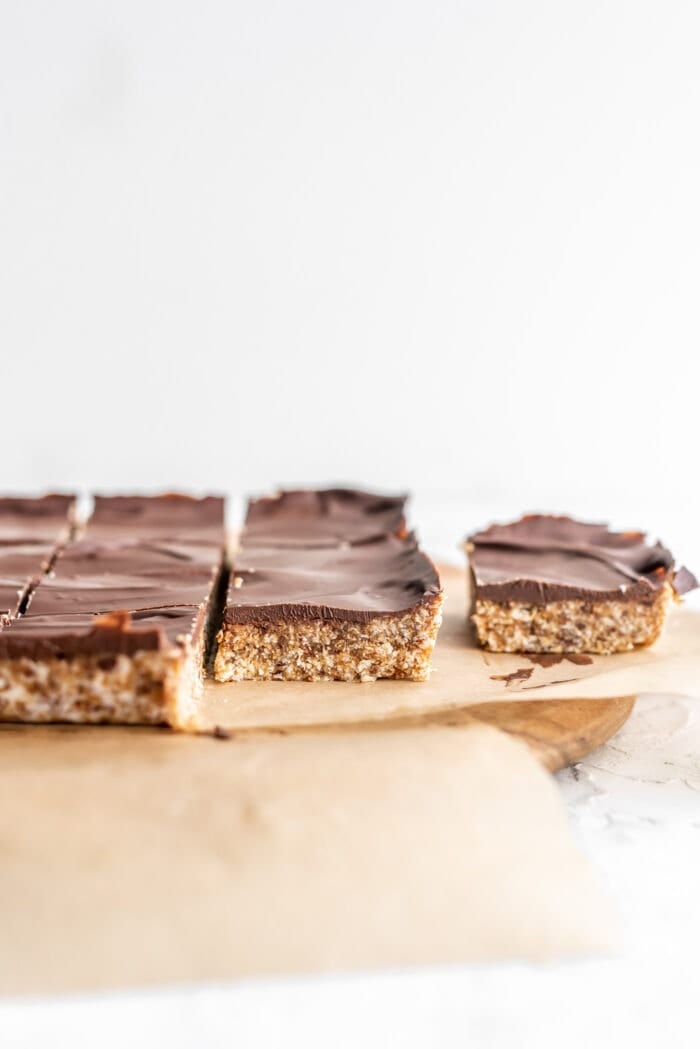
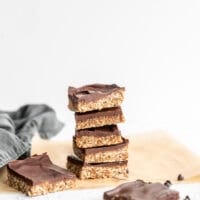
Slice the bars into 8-10 large bars or 16 square and enjoy!
Expert Tips
- It’s important to use soft, moist dates in this recipe. If your dates are overly dry, soak them in hot water for 15 minutes then drain well before using in the recipe.
- To thin the melted chocolate and make it easier to spread, you can add 1 tbsp melted coconut oil or butter.
- If you prefer to use a homemade chocolate ganache, use the chocolate topping from these cashew cookie dough bars.
FAQ
To keep these bars vegan, choose dairy-free chocolate chips from Camino, Made Good or Enjoy Life.
You can also use chopped dark chocolate. Most quality dark chocolate is vegan just read the label to make sure it doesn’t contain any dairy. I like Alter Eco or Green and Blacks.
If you’re using solid chocolate instead of chocolate chips, chop it up until you have about 3/4 cups worth.
Yes, these bars are naturally gluten-free though be sure to read the packaging of the chocolate used if cross-contamination is a concern.
Storing
- Due to the chocolate, these are best stored in the fridge for freezer until just before serving.
- Fridge: Store up to 2 weeks in an airtight container.
- Freezer (Recommended): Store up to 4 months in an airtight container.
If you make this recipe, please consider leaving a comment and a ⭐⭐⭐⭐⭐ rating in the comment section below. It helps others who are thinking of making the recipe, and I love to hear from you. Thanks for trying my recipes! – Deryn
Vegan Chocolate Coconut Bars
Ingredients
- 1 cup packed, soft pitted dates (250 g)
- 2 cups unsweetened shredded coconut, 165 g
- 1 tbsp melted coconut oil, 15 g
- 3/4 cup dairy-free chocolate chips
Instructions
- Add the dates, shredded coconut and coconut oil to a food processor and mix until it forms a crumbly dough.
- Line a 7-inch square baking pan with 2 strips of parchment paper or saran wrap then firmly press the dough into the pan. Place the pan in the freezer.
- Melt the chocolate chips using a double boiler, a glass bowl placed over a pot of boiling water on the stove or carefully in the microwave, then evenly spread the melted chocolate over the coconut base.
- Place the pan back in the freezer and allow to set for 30-minutes.
- Remove from the freezer and slice into 16 bars. Store in the fridge for up to 10 days or freezer for up to 3 months.
Nutrition
This recipe was originally published July 29, 2013.


Absolutely delicious recipe, which I tweaked a bit by adding 1/4t Himalayan Salt and 1t Vanilla extract.
Folded in 3/4C Roasted Pistachios.
Thank you for this excellent treat.
Marti Hayduk
Move over energy bars, hello Vegan Chocolate Coconut Bars! I used high percentage baking chips since it was already in the cupboard. Deryn, these are fantastic and will be frozen before stashing into my feedbag for an endurance run or mountain bike ride. ALL of your recipes make it easy on me to match my doshas.
So glad you enjoyed them and they’ll be used to fuel your runs and rides! Have fun!
Those photos are adorable! Looks like so much fun!
You know what else would be fun? Eating these delicious treats! Chocolate and coconut are a match made in heaven!!
Totally a match made in heaven 🙂
The photo booth was such a quick and easy idea too, so much fun! Kept us busy for a good hour before heading out!
I literally just looked in my cabinet to see if I have all of the ingredients to make these immediately. No dates…but my husband will be getting a request to pick them up on the way home from work tonight now 🙂
Yay!!
Enjoy! Let me know how you like them 🙂 They’re really good when you let them thaw a bit before eating.
That photo booth looks like it was so much fun, you look amazing, and those ganache squares… well, I want one!!! Yum!
Aww, thanks! They are pretty tasty! I may have just had a little piece with breakfast…haha!